Afternoon storm risk is the line that matters. Everything else is comfort. In summer, plan to be off the ridge before the build-up starts, not as it starts. Forecast for the summit point, adjusted for its elevation · data from Open-Meteo.
Alternate route · Southwest Ridge
Overview
The Southwest Ridge of Ellingwood Point is a Class 3 ridge climb from the Lake Como area. Above Lake Como and the Blue Lakes, you climb a gully to the ridge, then scramble along a narrow, rocky crest over a headwall and a deep gash to the summit. Parts of the ridge are knife-edged, and you may meet a few Class 4 moves.
It is for experienced scramblers who are at home on exposed rock. It is much harder than the standard route. Once you start up the headwall, there is no easy way off before the top if the weather turns.
The listed 2,200 feet of gain counts from Lake Como. From the usual 4WD parking at 8,800 feet, the day adds more than 3,000 feet and several miles of rough road each way, so most people camp near Lake Como. The full round trip is about 15 miles from the lower road.
Plan of the day
Start by
From a camp near Lake Como, leave by 5 a.m. The ridge is slow and has no escape past the headwall.
Turnaround
If you are not at the saddle below the headwall by about 9 a.m., or clouds are forming, turn back. Past the headwall you are committed.
Crux
The headwall and the narrow ridge above it, followed by a gash you must downclimb and climb out of. The red, crumbling rocks near the summit saddle are awkward.
Route-finding
Moderate to hard. There is no trail and no cairns after the stream by the small lake. Finding the correct gully up to the ridge is key. Take the right branch of the Y-shaped gully. The left branch dead-ends.
Water
Lake Como and the Blue Lakes area have water. Filter it. There is none on the ridge.
From U.S. 160 east of Alamosa, take Colorado 150 north, following signs for Great Sand Dunes National Park. After a little over 3 miles, turn right onto the Lake Como road. How far you can drive depends on your vehicle.
Most cars can go about 1.5 miles before it gets rough. Stock 4WD SUVs and trucks can often crawl about 3.25 miles to pull-offs near 8,800 feet, the most common parking spot. Past there the road is very rough. Small, high-clearance 4WD vehicles may reach 10,000 feet, but parking is scarce. Only modified rigs and off-road vehicles reach Lake Como.
TundraTalus and screeScramblingExposed to lightning
The line is elevation, the band underneath is the ground, and the numbered dots match the steps below. Mileage and elevations are approximate.
1
Parking near 8,800 feet 8,800' · 0 mi
Walk up the rocky Lake Como road. It is long, steep and rough underfoot.
Watch for: Many people carry overnight packs and camp near Lake Como.
2
Lake Como 11,750' · 4 mi
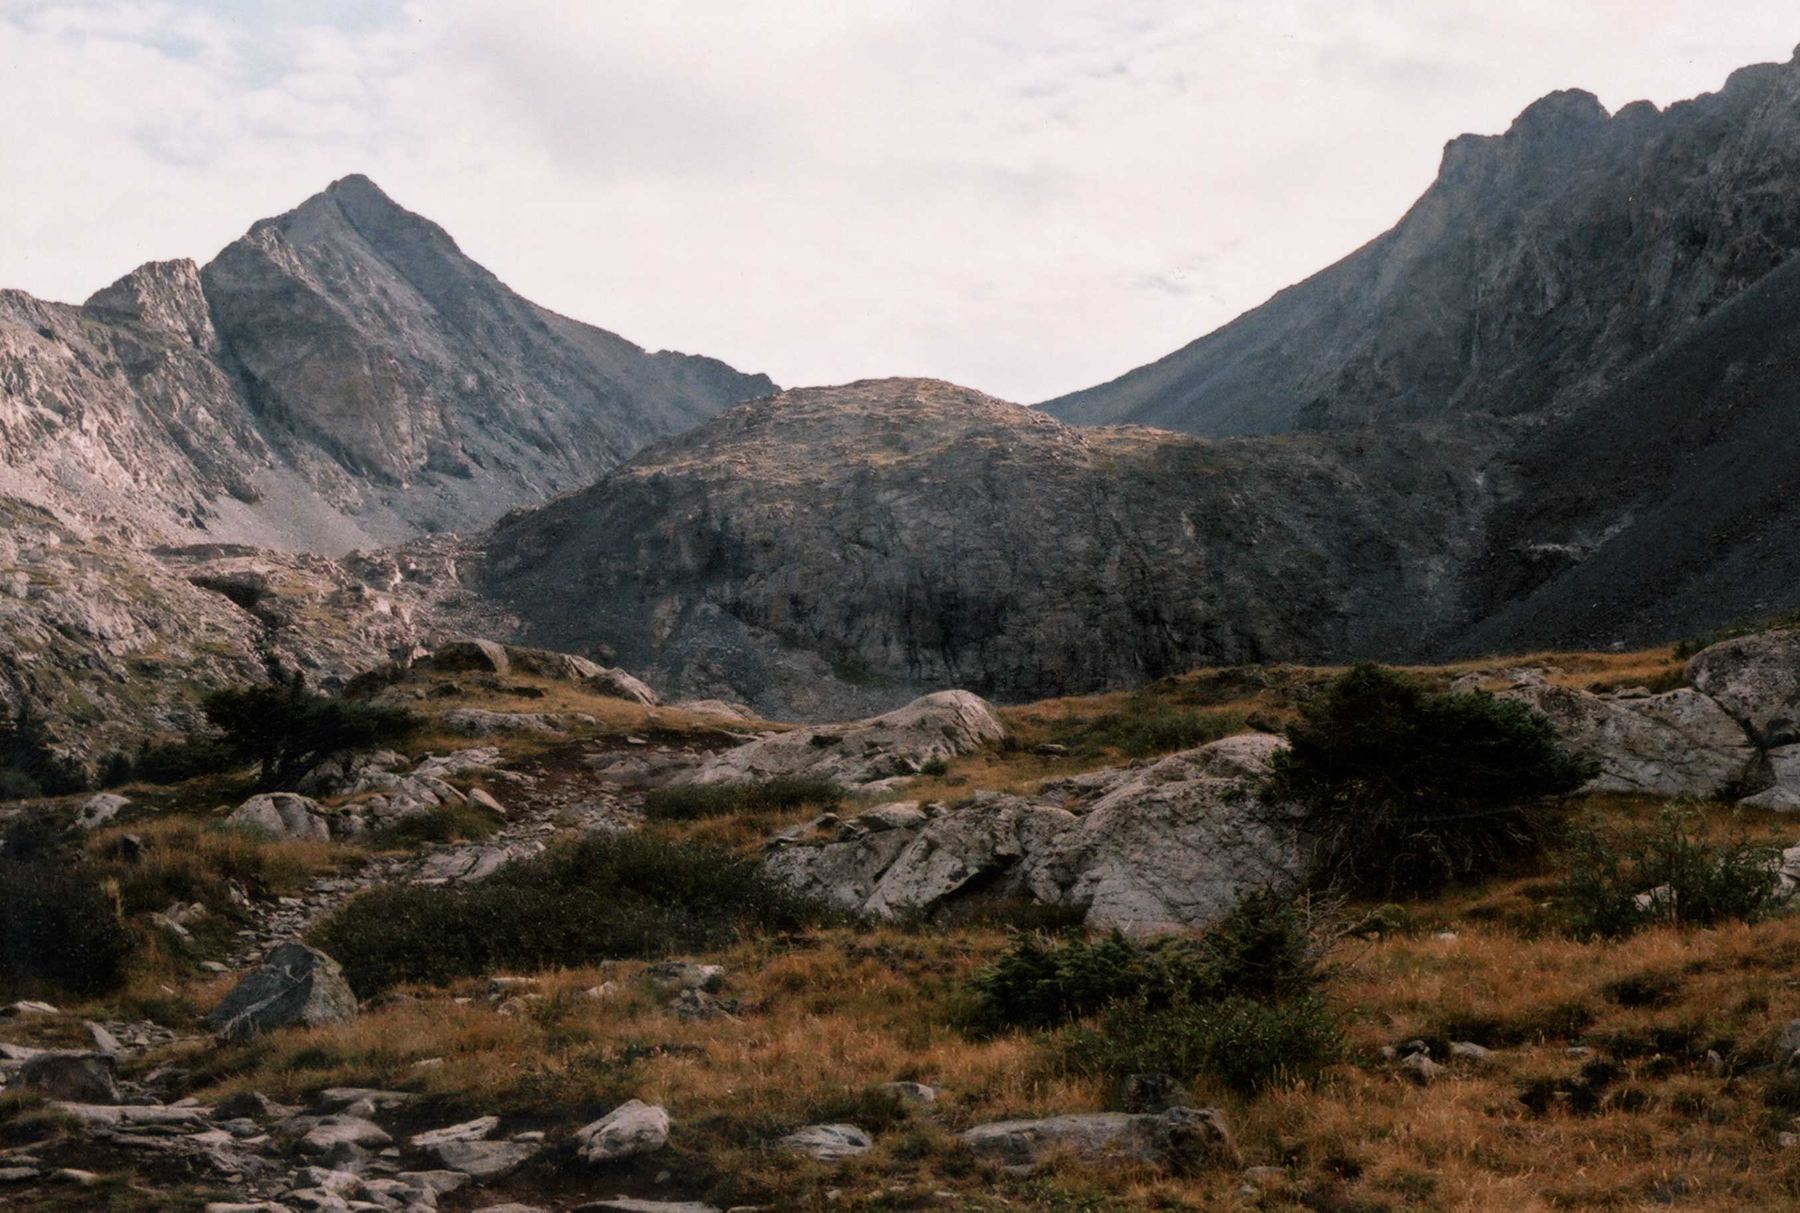
Reach Lake Como. Keep walking past it on the road until you break out above treeline. The southwest ridge is now in plain view.
3
Blue Lakes 12,200' · 4.8 mi
Near the Blue Lakes, the road gives way to a dirt trail. Climb about 200 feet on a talus path to the left of a waterfall.
4
Small lake above the waterfall 12,540' · 5.1 mi
At the top of the slope is a small lake. Walk north and cross its outlet stream. From here on there is no trail and no cairns.
Watch for: Study the ridge from here and find the gully you will climb.
5
Base of the rockslide 12,700' · 5.3 mi
Go around the lake, then cross a grassy area to reach the foot of a big rockslide. Near its top is a gully shaped like a slanted Y that leads to the ridge.
6
Y-shaped gully 13,100' · 5.6 mi
Climb the gully. Where it splits, take the right branch. The left branch ends at a small saddle and does not connect.
Watch for: Taking the left branch is a common mistake.
7
Small spine on the ridge 13,300' · 5.8 mi
Leave the gully on the side of the ridge. Head east to a small rock spine. Drop to the right and pass it on its south side, then climb back to a saddle below a big headwall.
8
Base of the headwall 13,400' · 5.9 mi
The difficulty jumps from Class 2 to hard Class 3 here. Move to the headwall's left (north) side and climb straight up it where it suits you.
Watch for: Last place to turn back with ease. Test every hold. Some are loose even on good rock.
9
Gash in the ridge 13,600' · 6.1 mi
Stay on top of the narrow ridge and work east. After a couple hundred feet, downclimb into a deep gash and climb out onto the next section.
Watch for: Exposed and airy. Move slowly.
10
Horn and summit saddle 13,950' · 6.4 mi
Keep on the crest with steady Class 3 and maybe a few Class 4 moves. Aim for a large horn. Climb it to the level of the saddle that links it to the summit, then cross into the saddle.
Watch for: A long gully drops down the south face from this saddle.
11
Summit of Ellingwood Point 14,057' · 6.5 mi
Get up onto a patch of crumbling red rock, go right, and walk up easy talus to the top.
Getting down
Most people do not reverse the ridge. The usual choice is to descend Ellingwood's standard route back toward the Blue Lakes and Lake Como, which is easier and faster. Then follow the road back down to your camp or car.
If things go wrong
Before the headwall, you can go back down the Y-shaped gully to the small lake. Past the headwall there is no good escape, so decide there. If storms catch you high on the ridge, the quickest way off is often to finish to the summit and go down the easier standard route. Do not try to descend unknown gullies off the ridge. In an emergency, call 911 if you have signal.
Other routes
Every way up Ellingwood Point we list, with its class.
This describes the route in its usual season. Distances and elevations are close estimates for planning. Snow, ice, rockfall, a washed-out road or an afternoon storm can make it a very different climb. Check recent conditions the week you go and turn around when the day tells you to.