Afternoon storm risk is the line that matters. Everything else is comfort. In summer, plan to be off the ridge before the build-up starts, not as it starts. Forecast for the summit point, adjusted for its elevation · data from Open-Meteo.
This is a technical climb. Falls here can be fatal. It is for experienced climbers who are comfortable on steep, exposed rock and can decide when to turn back.
Technical route · West Ridge Indirect
Overview
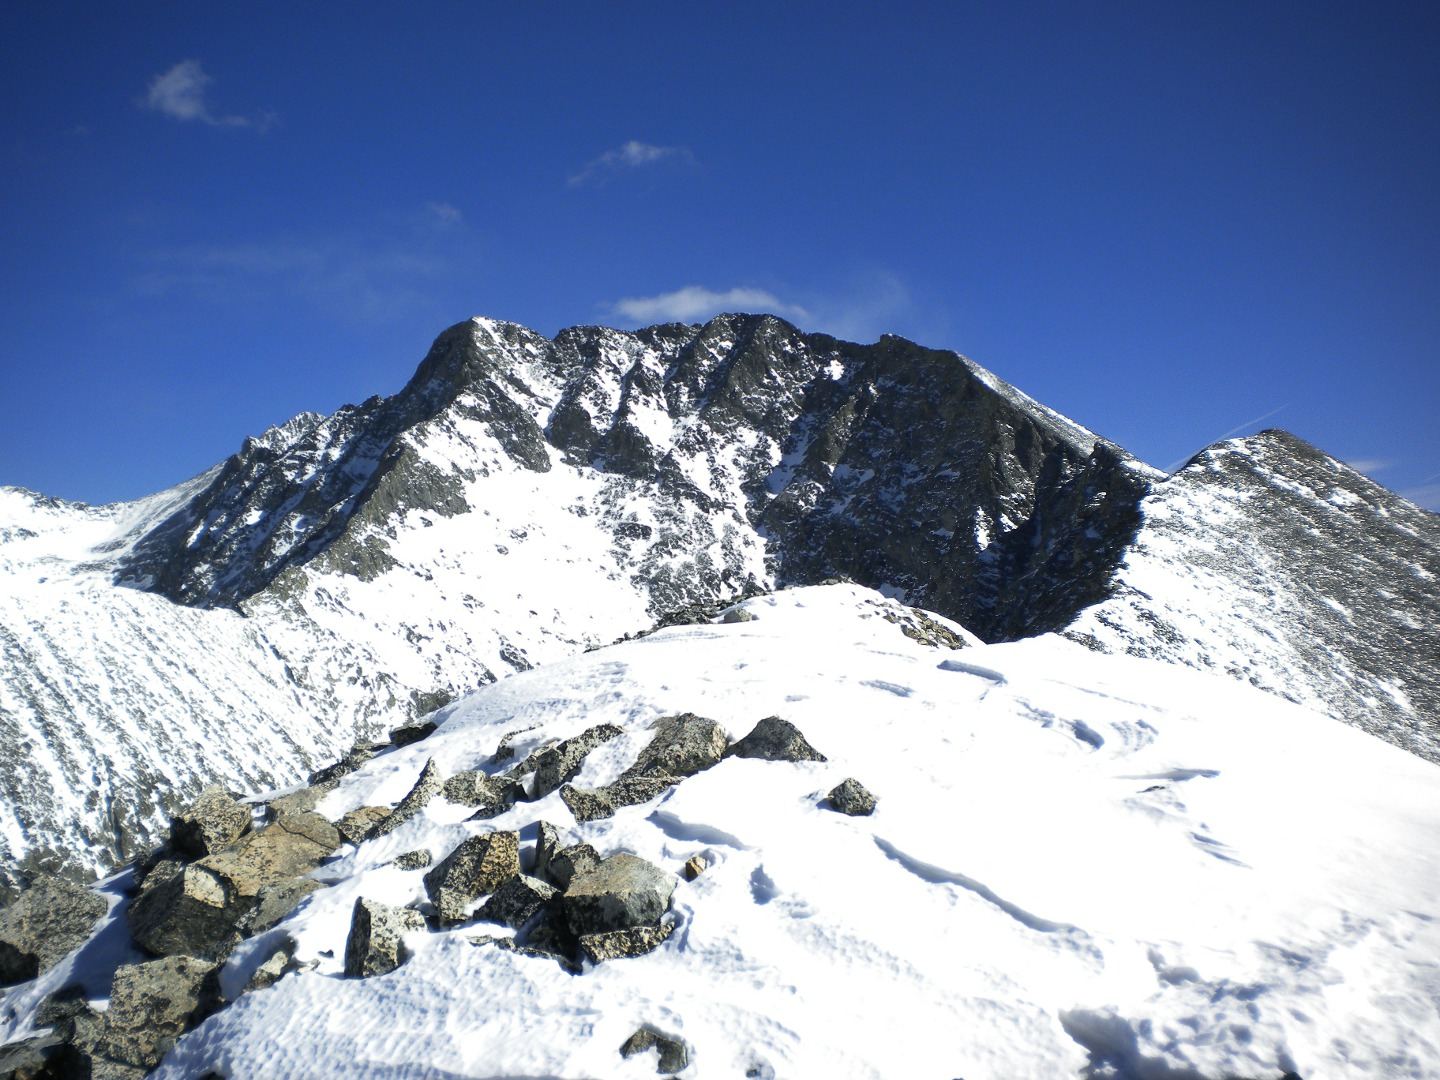
This is a technical route up Little Bear Peak that avoids most of the Hourglass, the notorious rockfall gully on the standard route. Instead, it leaves the standard route below the Hourglass, climbs a side gully to the west ridge, crosses a short, very exposed stretch of ridge, and then follows ledges and gullies to the summit.
It is rated Class 4. The hardest move is short, yet the ridge drops off steeply on both sides. There is also a key exit ledge that is easy to miss, and missing it leads to harder climbing. This route is only for experienced climbers who are calm on airy terrain and good at route-finding.
From the lower 2WD parking, plan on about 14 miles round trip with roughly 6,200 feet of gain. Most parties camp at Lake Como. From there, the summit push is a half day or more.
Plan of the day
Start by
By 5 a.m. from a camp at Lake Como. A single-day push from the low parking needs a start in the middle of the night.
Turnaround
Be at the ridge low point near 13,550 feet by 9:30 a.m. If not, or clouds are building, turn back. The exposed ridge is no place to be in a storm.
Crux
One or two Class 4 moves on the exposed ridge crest, ending near 13,640 feet. The drop is huge on both sides.
Route-finding
Hard. Find the black wall and rock rib near 13,100 feet, the gully to the ridge low point, and the white rock with a flat face that shows where the exit ledge is. Study the turn point near 13,725 feet so you can find it on the way down.
Water
Lake Como and streams along the road. None above the lake. Filter and carry 2 to 3 liters for the summit day.
From U.S. 160 east of Alamosa, go north on Colorado 150, following it toward Great Sand Dunes National Park. After a little over 3 miles, turn right onto the Lake Como road.
How far you can drive depends on your vehicle. Most cars can go about 1.5 miles. High-clearance 4WD SUVs and trucks can reach pull-offs near 8,800 feet at about 3.25 miles, a popular place to park. Small, high-clearance 4WD vehicles may reach about 10,000 feet, but parking there is very limited. Beyond that, only ATVs and heavily modified rigs go on, and only with skilled drivers.
RoadTundraRidgeTalus and screeScramblingExposed to lightning
The line is elevation, the band underneath is the ground, and the numbered dots match the steps below. Mileage and elevations are approximate.
1
Lower 2WD parking 8,000' · 0 mi
Start walking up the Lake Como road. It is steep, rocky and sandy in places.
Watch for: Carry plenty of water. The lower road is hot and dry.
2
4WD pull-offs 8,800' · 1.75 mi
Many people park here. Keep walking up the road as it gets rougher.
3
Lake Como 11,750' · 5.75 mi
Reach the lake. This is the usual camp. Fill and filter water here.
Watch for: Last reliable water.
4
Ridge point 12,960 12,960' · 6.3 mi
Follow the standard Little Bear route up to the ridge and past Point 12,960 and the notch after it.
Watch for: Loose rock. Wear a helmet from here on.
5
Black wall and rock rib 13,100' · 6.5 mi
Look for a rock rib sticking out from the cliffs and a small black wall near 13,100 feet. Leave the trail here and head up toward the talus above the rib.
Watch for: There are two trails here, one higher and one lower. Either one gets you to the black wall.
6
Base of the gully 13,320' · 6.6 mi
Once past the top of the black wall, head for a gully that lies left of a big talus field. Its base is near 13,320 feet.
7
Ridge low point 13,550' · 6.7 mi
Climb the gully, then veer right toward the lowest point on the ridge. No other spot makes it easier to reach the ridge, but it is very exposed.
Watch for: Do not bypass the ridge on the right. The rock there is steep and loose.
8
The crux 13,640' · 6.75 mi
Stay on the ridge a few hundred feet. The crux is one or two Class 4 moves, with huge drops on both sides. Stay on the crest. Look out in front for the white rock with a flat face.
Watch for: Extreme exposure. The right-side bypass is no easier.
9
Exit ledge above the white rock 13,700' · 6.8 mi
Past the crux, stay on the crest or just below it on the right. Where the ridge ends, climb a few Class 3 moves and walk the ledge that runs right over the white, flat-faced rock.
Watch for: Missing this ledge leads to Class 4 or even Class 5 moves.
10
Turn point 13,725' · 6.85 mi
Turn the corner toward the summit. Stop and study this spot carefully so you can find it on the way down. The Hourglass comes into view on your right.
Watch for: Do not knock any rocks into the Hourglass. People below you may be climbing it.
11
Short wall and gully 13,900' · 6.95 mi
Follow a faint trail to a short wall and make a couple of easy moves over it. Then follow the easiest line, with a few cairns, to a short gully and climb it.
12
Summit of Little Bear Peak 14,041' · 7 mi
Work up to the ridge, then turn right and walk to the top.
Getting down
If you were comfortable on the way up, reverse the route. Find the cairns at the turn point, regain the ridge, and downclimb the crux carefully. The trickiest part going down is the stretch over the flat white rock. Leave the ridge at its low point and retrace your way down the gully, past the black wall, and back to the standard route. The other choice is to go down the standard Hourglass route, but rockfall there is a serious danger. Then return to Lake Como and walk the road out.
If things go wrong
Before you reach the ridge low point, retreating down the gully to the standard route is simple. Once on the exposed ridge, you are committed for a short stretch. Going up and across is usually faster than going back. In an emergency, the Hourglass is a way down, but it is dangerous with rockfall and should be treated with great care.
Other routes
Every way up Little Bear Peak we list, with its class.
This describes the route in its usual season. Distances and elevations are close estimates for planning. Snow, ice, rockfall, a washed-out road or an afternoon storm can make it a very different climb. Check recent conditions the week you go and turn around when the day tells you to.