Afternoon storm risk is the line that matters. Everything else is comfort. In summer, plan to be off the ridge before the build-up starts, not as it starts. Forecast for the summit point, adjusted for its elevation · data from Open-Meteo.
Standard route · Southwest Slopes
Overview
Mount Wilson is the highest peak in the San Miguel Mountains and one of the harder 14ers. The route from Kilpacker Basin starts on a good forest trail, then leaves it for loose talus, two steep gullies and a rock rib, and ends with a short, exposed Class 3 pitch to a narrow summit. The last half mile is where the difficulty is, and almost all of it is off trail.
The round trip is about 12.5 miles with 4,400 feet of gain. Many people camp in Kilpacker Basin to shorten summit day; done in one push, expect 10 to 13 hours. The gullies are full of loose rock, and parties above you can send rocks down without warning.
This route is for experienced scramblers who are comfortable on Class 3 rock with a drop below, and who can find their way without a trail. It is not a first 14er, or a good first Class 3.
Plan of the day
Start by
By 4 a.m. from the trailhead, or 5 a.m. from a basin camp. The hard scrambling is at the very end, and you do not want to be in the gullies or on the summit pitch when a storm arrives.
Turnaround
If you are not at the rib crossover near 13,900 feet by 10:30 a.m., turn back. Storms in the San Juans often build before noon.
Crux
The final 150-foot pitch from the notch on the south ridge to the summit. It is steep, exposed Class 3. Crossing the rock rib between the gullies also takes a few Class 3 moves.
Route-finding
The trail is clear to about 12,600 feet, where it fades out near a couple of small cairns. Above that you follow scattered cairns and your own judgment. The key spot is the rib crossover between the two gullies; many people miss it on the way down and end up in the wrong gully.
Water
Streams run through Kilpacker Basin. The last reliable water is in the upper basin near 12,000 feet. Filter everything.
From Telluride, drive south on Colorado 145 over Lizard Head Pass. About 5.5 miles past the pass, turn right onto Forest Road 535, the Dunton road. Drive a little over 5 miles on the dirt road to the signed Kilpacker trailhead on the right.
The road is fine for most passenger cars in dry weather. There is a parking area at the trailhead. The route enters the Lizard Head Wilderness, which has rules on group size, camping and dogs; check with the Forest Service before you go.
Trail in the treesTundraTalus and screeScramblingRidgeExposed to lightning
The line is elevation, the band underneath is the ground, and the numbered dots match the steps below. Mileage and elevations are approximate.
1
Kilpacker trailhead 10,100' · 0 mi
The trail leaves the parking area into mixed forest. It is well built and easy to follow in the dark. Early on it rolls gently with small climbs and drops.
2
Forest trail 10,500' · 1.5 mi
The trail winds through spruce and aspen and crosses small streams. Stay on the main trail toward Kilpacker Basin at any junctions; signs mark the way.
3
Kilpacker Basin 11,000' · 2.5 mi
The trail climbs into Kilpacker Basin. The trees start to open up and you get the first views of the high ridge between El Diente and Mount Wilson.
4
Treeline campsites 11,500' · 3 mi
A common camp area near the edge of the trees. The basin opens into meadows and rock. The trail keeps climbing up the basin, and gets rockier.
5
Upper Kilpacker Basin 12,000' · 3.8 mi
Rocky trail through open terrain with the creek nearby. This is the last easy water. Refill here.
Watch for: Last reliable water.
6
El Diente junction 12,600' · 4.5 mi
The rocky trail fades out near 12,600 feet. A couple of small cairns mark where the El Diente route goes up to the left. For Mount Wilson, look for cairns heading east along the north side of the basin.
Watch for: Easy to miss. Take a look around so you can recognize it on the way back.
7
Drainage toward Wilson 13,000' · 5 mi
As the basin ends, angle northeast into a drainage that climbs toward Mount Wilson. Footing is loose talus and dirt.
8
13,200-foot view 13,200' · 5.25 mi
Here you get a clearer view of the rest of the climb. Head toward a large pile of talus, then turn left and keep climbing.
9
Rocks below the ridge 13,700' · 5.55 mi
The terrain straight ahead is loose and unpleasant. Instead, climb up and left onto rock just below the ridge that connects El Diente and Mount Wilson. From here, turn right to see the next section.
10
First gully 13,800' · 5.65 mi
Traverse below cliffs on loose rock and step into the first gully. Climb it a short way while looking for the place to cross the rock rib on your right.
Watch for: Loose rock. Do not climb below other parties.
11
Rib crossover 13,900' · 5.8 mi
Turn right and make a few Class 3 moves to get onto the rib that splits the two gullies. Step over and look into the southern gully. Turn around and study this spot so you can find it on the way down.
Watch for: Memorize this crossover. Missing it on descent is a common mistake.
12
Southern gully 14,050' · 5.95 mi
Drop slightly into the southern gully and climb along its side. The rock is broken and loose in places. Keep moving up toward a notch in Wilson's south ridge.
13
South ridge notch 14,200' · 6.1 mi
Reach the notch near 14,200 feet. The summit is up and to your left, about 150 feet above.
14
Summit pitch 14,256' · 6.25 mi
Turn left and climb the last 150 feet. This is the hardest part: steep, exposed Class 3 rock. Pick your holds carefully and keep three points of contact. The summit is small, with views of El Diente, Wilson Peak and Lizard Head.
Watch for: Real exposure. A fall here would be serious.
Along the route
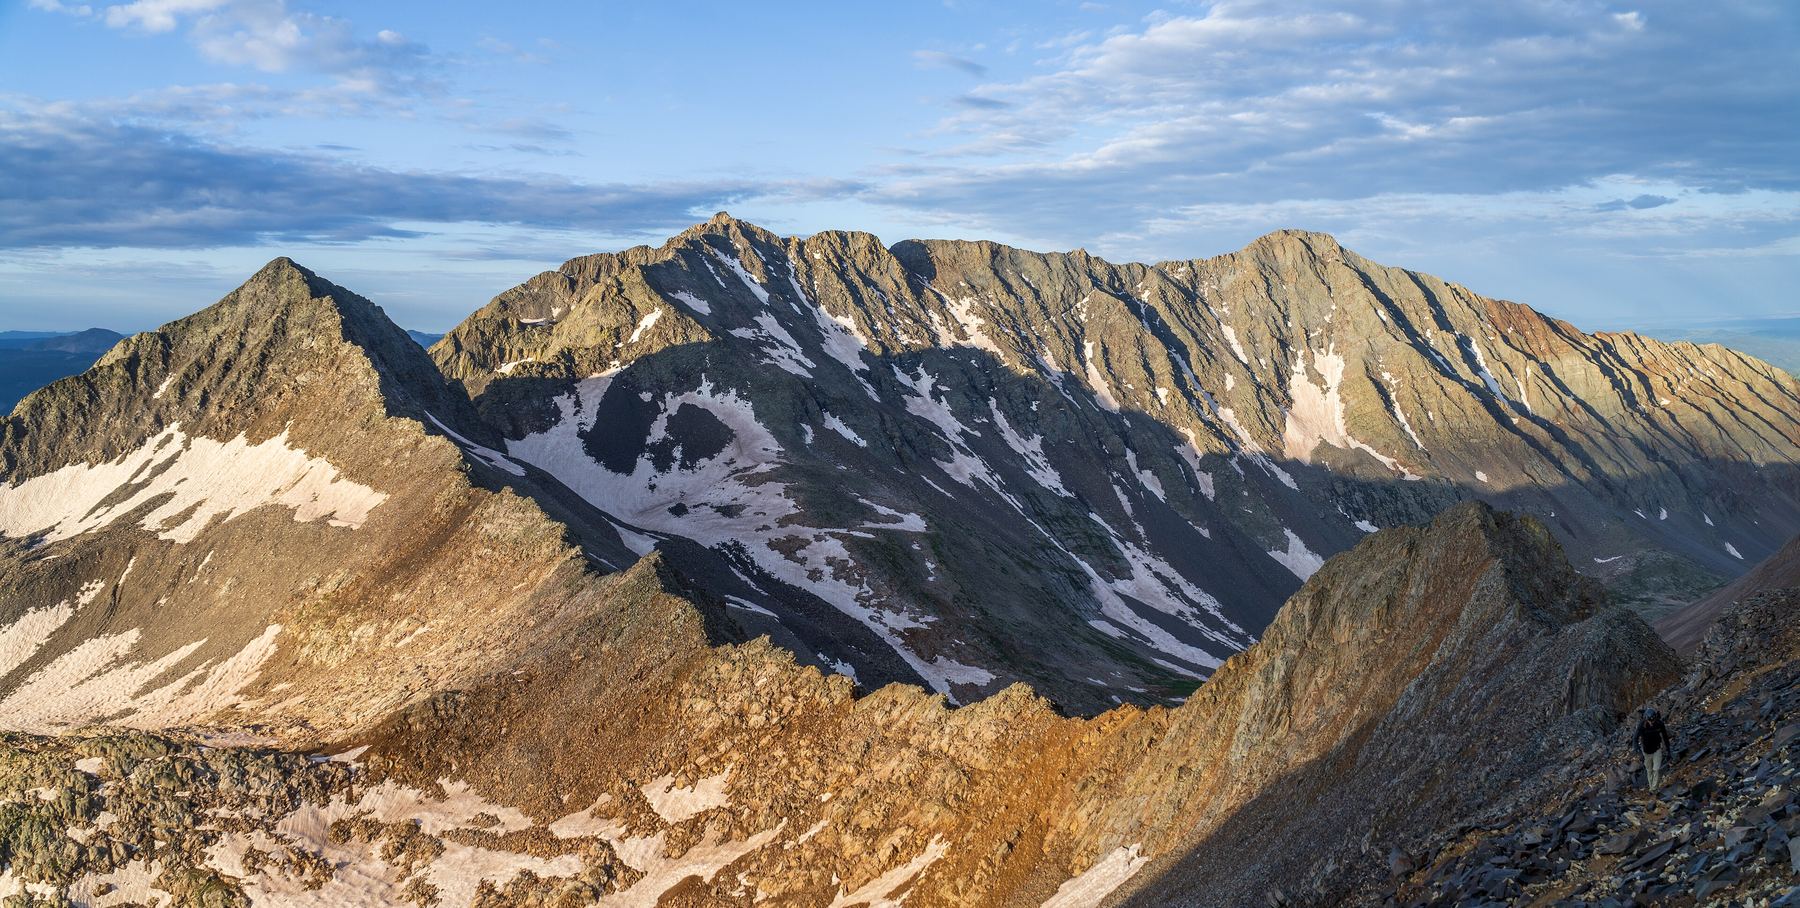
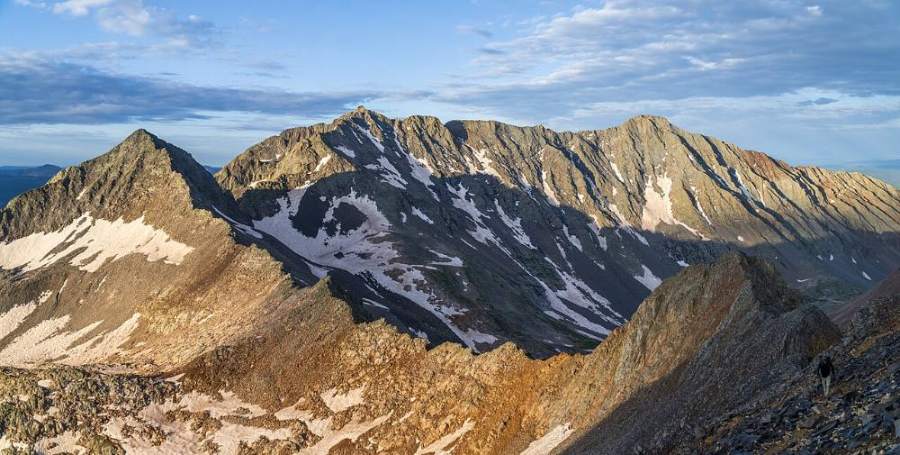
Gladstone Peak and Mount Wilson · Photo: Kylie Stewart
Here Groundhog Stock Drive Trail goes off to the left. Keep right to follow Kilpacker Trail.
Coming down: Keep going straight on Kilpacker Trail. Don’t take Groundhog Stock Drive Trail.
2Mile 5.4 · 13,450'
Turn right onto Mount Wilson Southwest Slopes
Here El Diente South Slopes goes off to the left. Turn right to follow Mount Wilson Southwest Slopes.
Coming down: Turn left to stay on Kilpacker Basin Trail. Don’t take El Diente South Slopes.
3Mile 6.2 · 14,240'
Turn right to stay on Mount Wilson Southwest Slopes
Here Mount Wilson-El Diente Traverse goes off to the left. Turn right to follow Mount Wilson Southwest Slopes.
Coming down: Turn left to stay on Mount Wilson Southwest Slopes. Don’t take Mount Wilson-El Diente Traverse.
Landmarks to know
Signed Kilpacker trailhead off the Dunton road
Open meadows at treeline in Kilpacker Basin
Small cairns at 12,600 feet where the trail fades and the El Diente route splits off
Drainage angling northeast toward Wilson
Large talus pile near 13,200 feet (turn left)
Cliffs below the El Diente–Wilson ridge, traversed on loose rock
The rock rib crossover between two gullies
The notch on the south ridge, 150 feet below the top
Getting down
Down-climb the summit pitch carefully, facing in on the steep parts. From the notch, go down the southern gully and watch closely for the rib crossover. Many people keep descending the southern gully too far and end up on steep, loose ground or cliffs. Cross the rib at the same spot you used going up, then go down the first gully a short way and traverse back out below the cliffs.
Below 13,700 feet, reverse your path down the drainage and back west along the north side of the basin to the cairns at 12,600 feet. From there, the trail takes you back down Kilpacker Basin to the car. The talus is tiring and ankle-rolling; go slow.
If things go wrong
Once you are below the rocks under the El Diente–Wilson ridge (about 13,700 feet), you are off the hardest ground. If a storm hits while you are in the gullies, go back down the way you came; do not try to descend unknown gullies. Getting back to the cairned junction at 12,600 feet puts you on trail. The treeline camp area is the nearest sheltered ground. If someone is hurt, keep them warm, mark your location, and call 911 if you have signal. Rescue from the gullies is slow and hard.
3D flyover
Press play to fly the Southwest Slopes. The graph shows elevation along the way and how much you gain each mile. Open full screen.
For planning only. The line is traced from open map data, not walked in the field, and off-trail parts are drawn straight. Load it in your GPS app to see the route, but navigate with your eyes, a map and the route description.
See the trail on video
No video yet
We haven’t found a good video of this route that matches the way we describe it. The route strip, junctions and 3D flyover show the way in the meantime.
Other routes
All 4 routes up Mount Wilson, with the class and round-trip distance for each.
Class 3 means sustained scrambling with your hands, on terrain where a fall has real consequence. Build up on easier scrambles first, wear a helmet, go with someone who has led this kind of ground, and remember that downclimbing is harder than going up.